
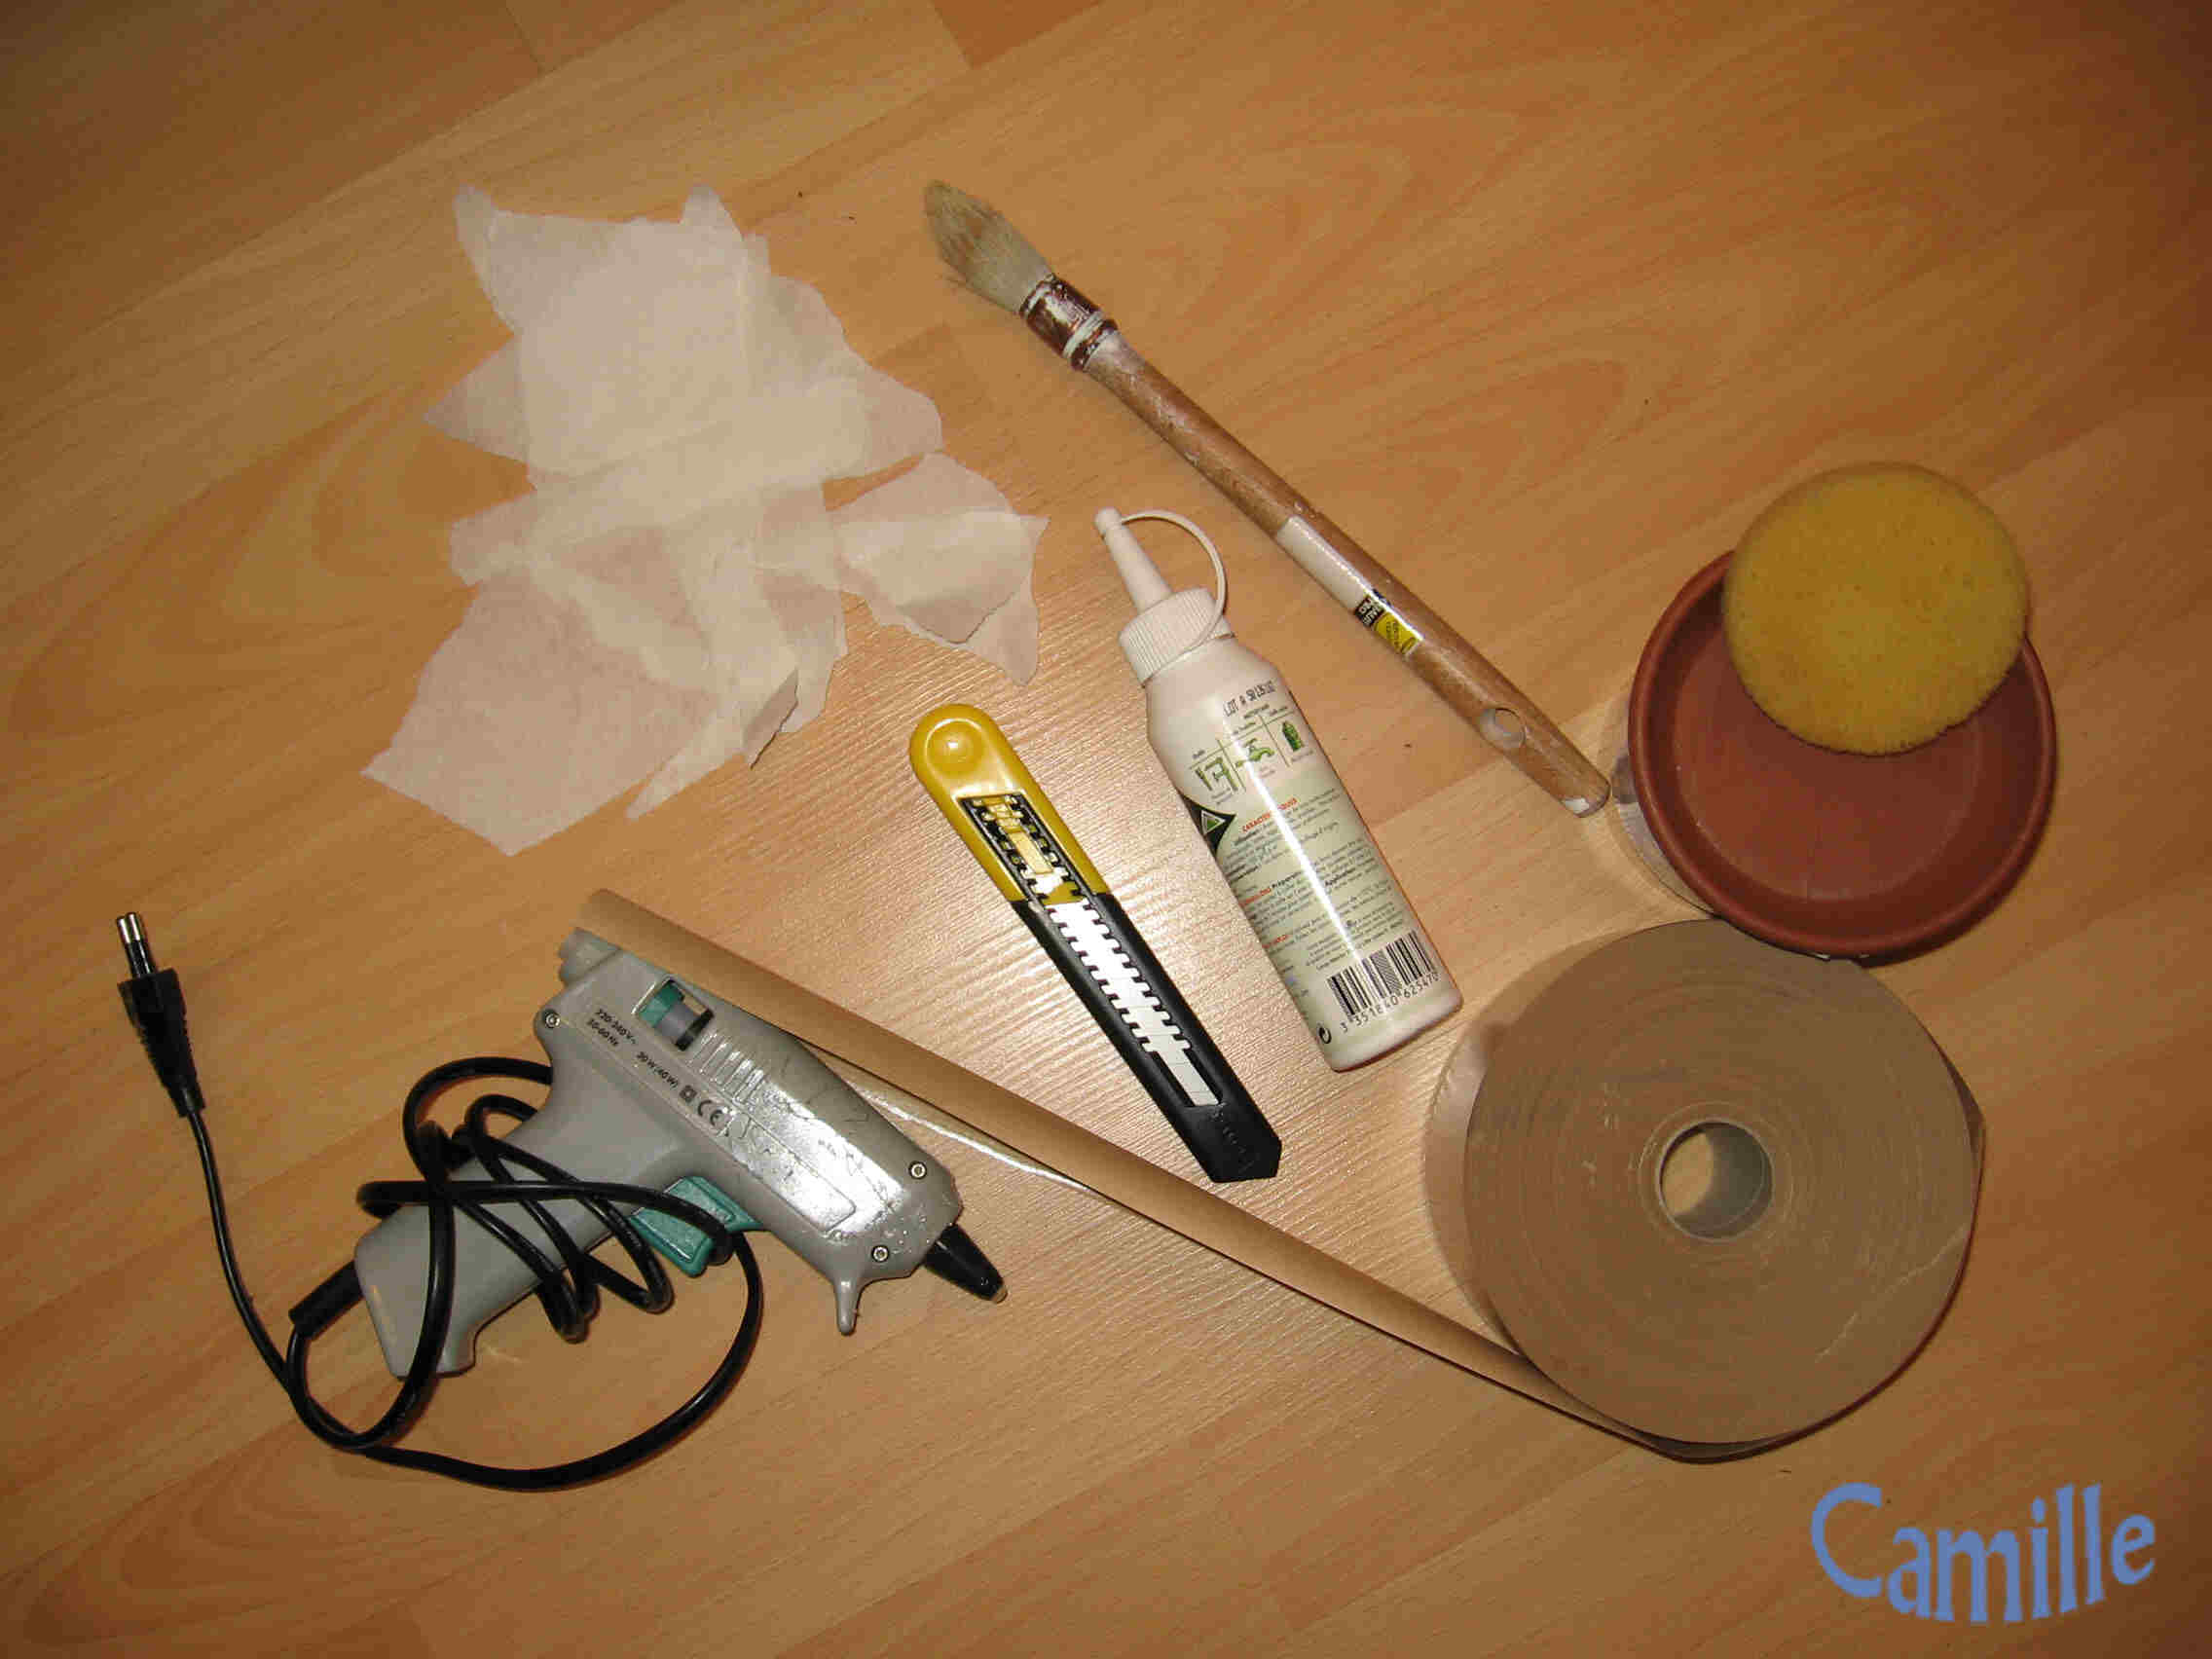
A one-metre metal ruler
A craft knife
A sponge
A glue gun
Gummed paper tape
A brush
An uncoloured water based varnish
The list of equipment is far from being exhaustive but includes most of what you will need.
Corrugated cardboard: The cardboard should not have any holes (e.g. from staples). Also it must not be damped (e.g. from rain). There are cardboard with single, double and triple layers of corrugations, each layer adding thickness. Their use depend on the type of piece of furniture or the part of the piece of furniture. If you don’t like rummaging through bins, ask in stores that sell big items.
A glue gun: A glue gun can be very useful for large piece of furniture. For little pieces of furniture wood glue can be used. In France a glue gun costs between €8 and €15 according to the size. In the UK you can get them from most DIY stores or art shops.
Glue sticks: They are used to refill the glue gun. In France multi-purpose glue sticks sell by packs of 1kg that cost around €4. Approximately 2 or 3 pieces of furniture can be made with 1kg. In the UK you can buy packs from most DIY stores.
Gummed paper tape: This is paper tape that has gum on one side. It must be wet to stick. Gummed tape can be found in art shops. In France a big roll of big width cost around €9 and can be used for more than one piece of furniture. A roll of average width costs around €4 or €5. The gummed tape is used not only to assemble the piece of cardboard but also to smooth the edges, make the corners more aesthetic, to hide the appearance of the corrugations, etc. In a word, the gummed tape helps to have a base for a nice future decoration!
A craft knife: Don’t forget to get some spare blades because they wear out very quickly with cardboard. Invest in a knife of quality if you plan to ‘cardboard’ a lot because the cheap ones tend to break easily. Recommendation is to invest in a Stanley knife.
Metal ruler: A metal ruler allows you to cut straight lines with the knife.
An uncoloured water based varnish: used to protect and strengthen the piece of furniture. That used to protect parquet wood flooring is okay.
White tissue paper: torn in little pieces and not cut. It is used to cover the piece of furniture to hide the uneven parts. You can also use tracing paper (paper for sewing patterns) that is sold by 1m roll and costs around €4 in France. Tracing paper is more economical than tissue paper and is more convenient. This paper is less easily torn and covers better so that one layer is usually enough.
Little sponge: used to wet the gummed tape.
Sand paper: to smooth and polish the angles of the cardboard. Alternative is a small handheld electric sander, the kind used for wood.
Wallpaper glue: mix the ingredients according to the guidelines, you can store the glue in a closed pot for quite a while (a big box costs around €2 or €3 in France)
Scissors: to cut the gummed tape
Measuring tape: if possible a measuring tape as used by a tailor as well as a DIY tape measure.
Acrylic paint: to cover the tissue paper or the primer.
A jigsaw: can be a good investment but an entire piece of furniture can be done with a Stanley knife. A jigsaw can save some time and obtain identical profiles as cut simultaneously. The jigsaw is used with blades for metal.
Wood glue: Wood glue is necessary if you glue together two big flat surfaces, for cupboard doors for instance.
Cutting board or workbench
About the glue:
|
Type |
Application |
Advantages |
Disadvantage |
|
Glue gun |
Thin liquid application |
Strong glue |
Set quickly+ it burns! |
|
Wood glue |
With brush or tube |
Time to reposition |
Set slowly (use weights) |
|
Wall paper glue |
With brush |
Spread over large surface |
Dry slowly |
1. You’re better off cutting the piece of cardboard a bit too large than a bit too small as it can still be reduced but not enlarged!
2. Always sand the edges of the cardboard before applying the glue to have a regular and flat surface.
3. Always check the direction on the corrugated cardboard before starting to cut.
4. Change the blade of the knife if the cut starts to rip down the top layer of the cardboard.
5. Before gluing a piece of cardboard in position, be sure it is of the right dimensions, and on the right way.
6. The thicker the cardboard the more resistant and strong the furniture will be.
7. When using the knife do not press too hard on the cardboard to cut it in one go (as I do sometimes!) but pass more than once with a steady pressure along the same cut line.
8. Do not let your piece of furniture dry too long outside because birds love cardboard to build their cosy nest (a piece of furniture intended for my brother was ruined, the fledglings had made themselves comfortable!). I have recently heard that rabbits like it too, don’t they Ksiop?
9. Do not hesitate to write with a pencil which piece goes where because it is easy to get confused!
Now you can start! Please go to the page ‘Create you first piece of furniture’.
This translation has been made entirely by Clarisse and her husband, Marthyn. Thanks a lot to you both.