
● With the link below discover photos of the making of the chest of drawers. They can help you understand the scheme of the tutorial.

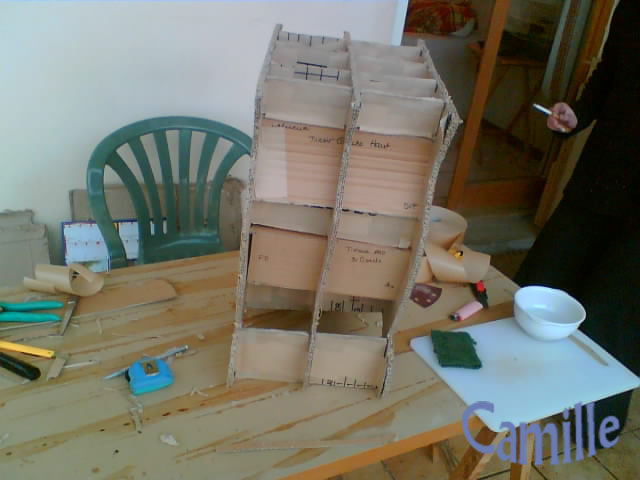
● On the left: the three uprights and the crosspieces
● On the right: in profile, you can see the crosspieces inserted in the middle upright and glued on the front and the back.
● On the left: making of the inside of the holes. You can see the gummed paper on the top and the left of the holes.
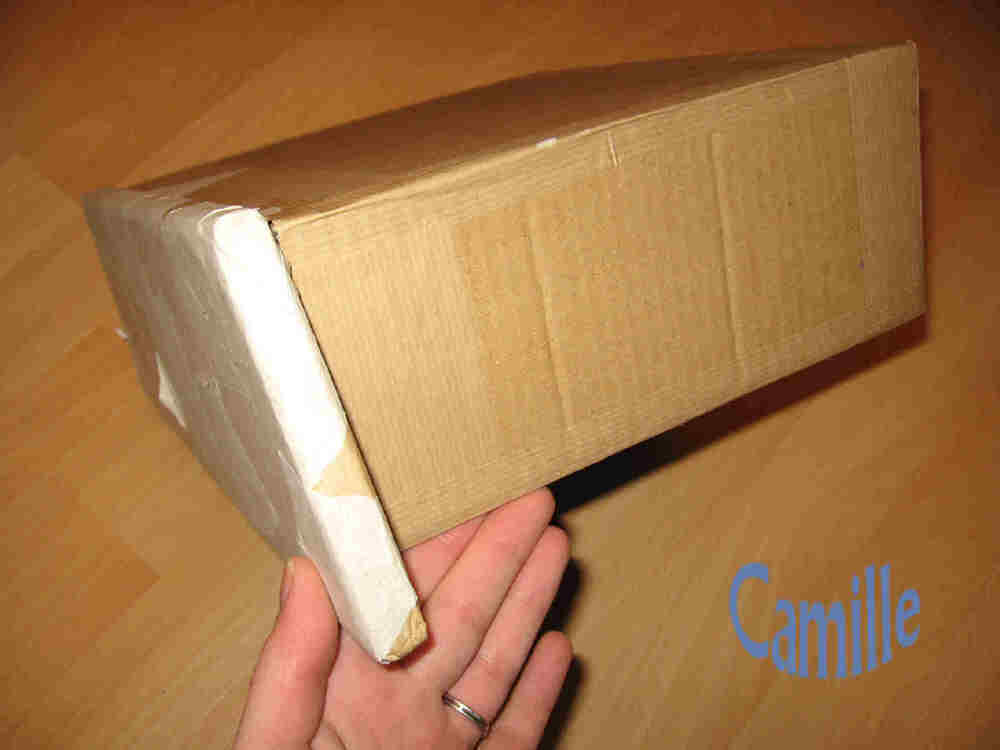
● On the right: drawer half covered with silk paper
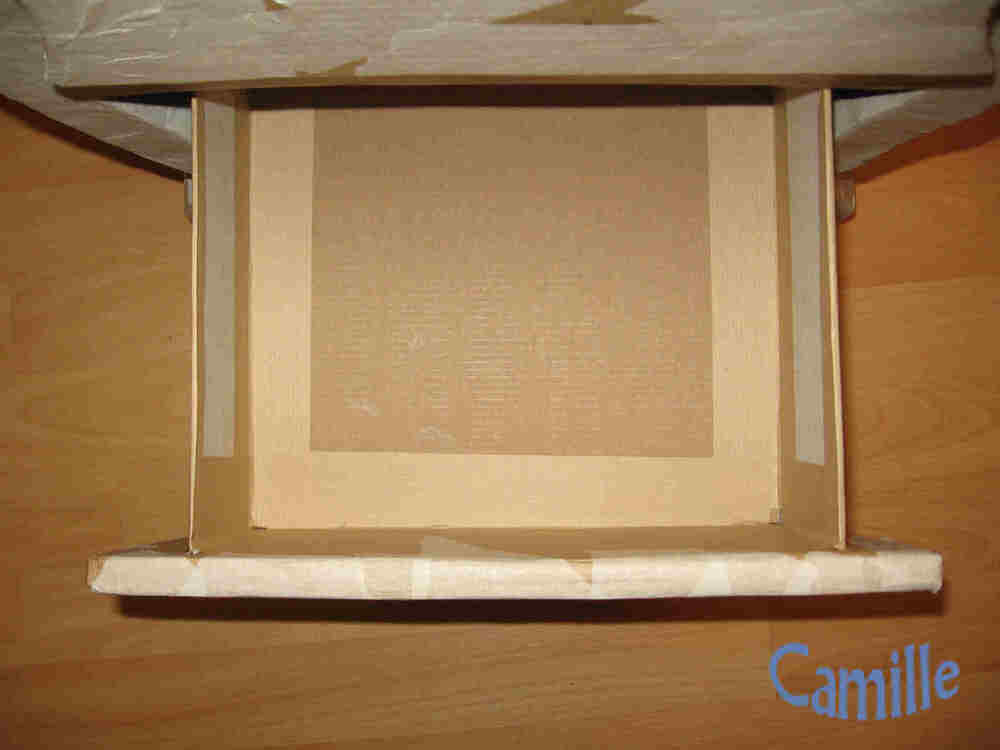
● On the left: drawer with gummed paper inside
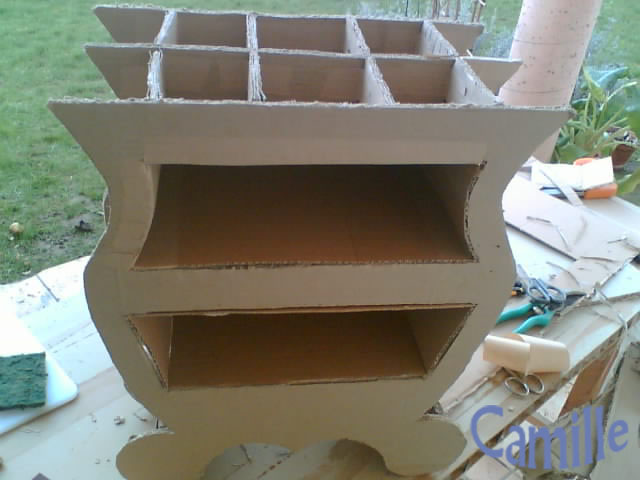
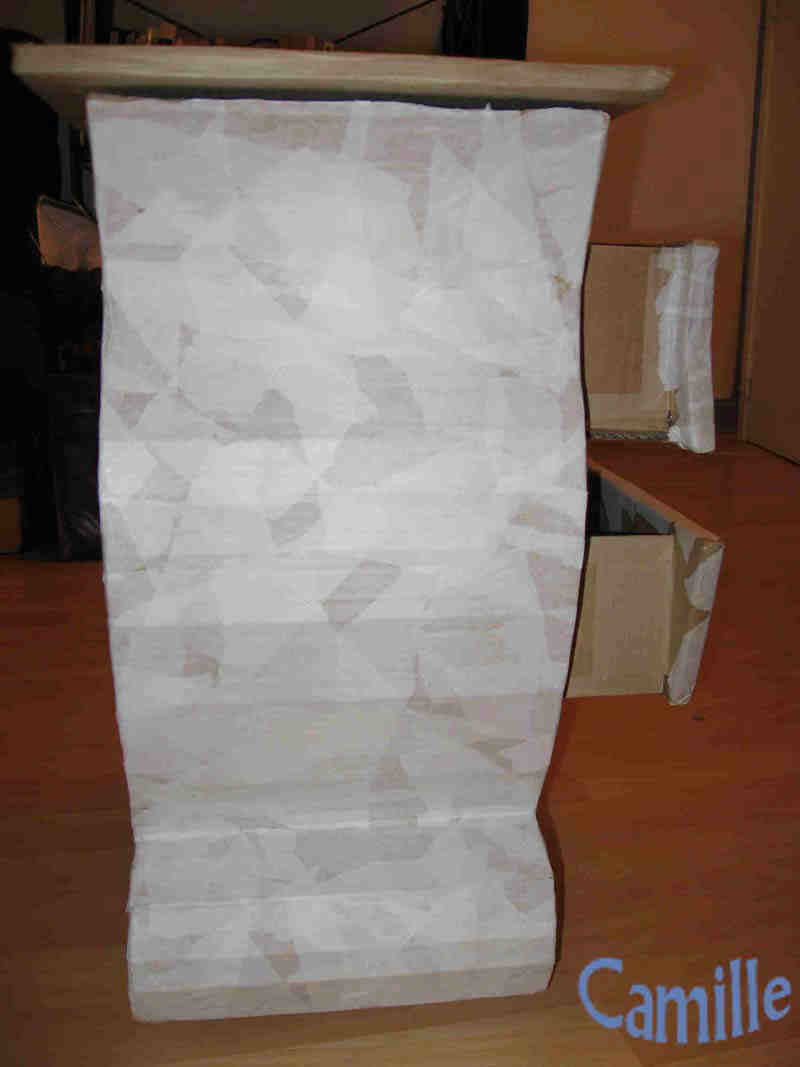
● On the right: chest of drawers seen in profile with the drawers partially covered with silk paper
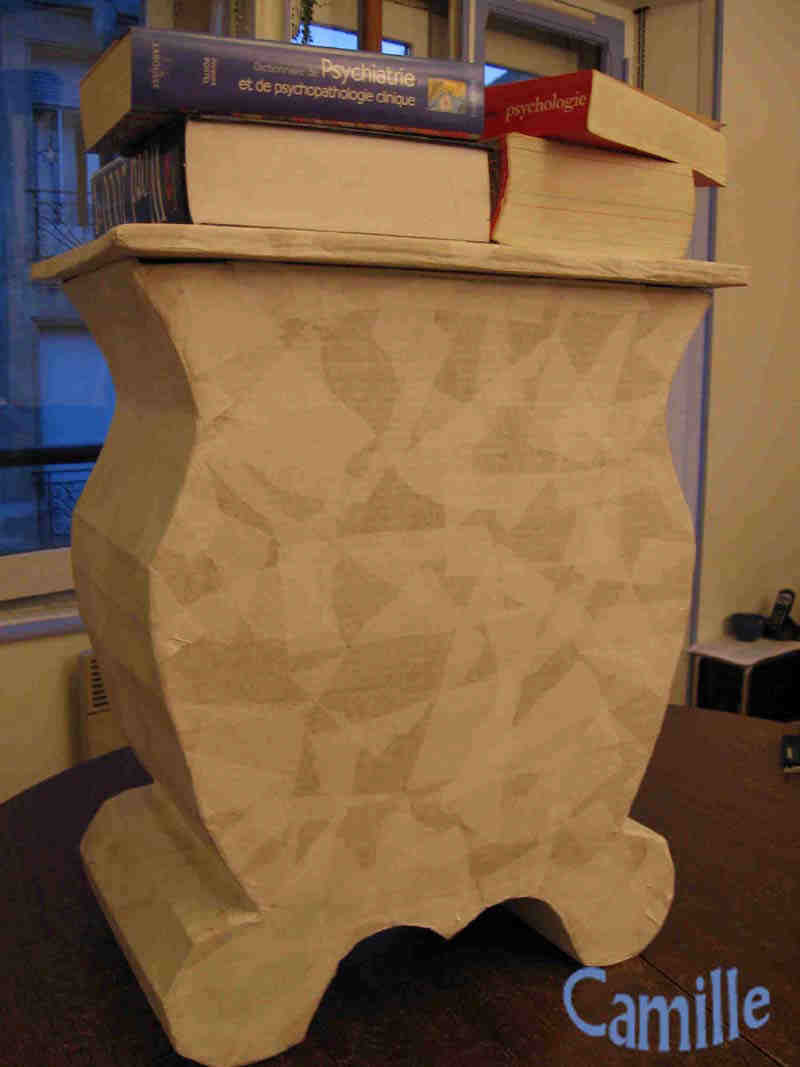

● On the left: chest of drawers in face almost done
● On the right: chest of drawers in back with heavy books on it for the glue to set
● You want to know a secret? My chest of drawers is not a simple piece of furniture, it has… a secret hiding-place! (that is not secret anymore now I told you…)
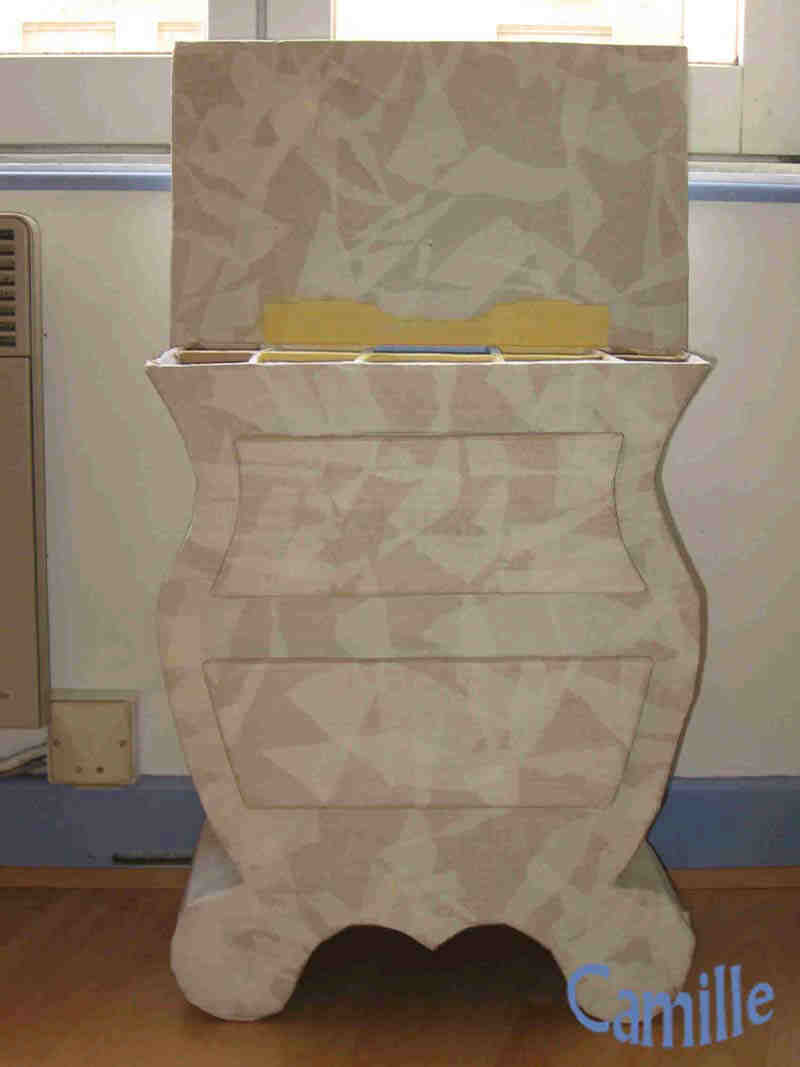
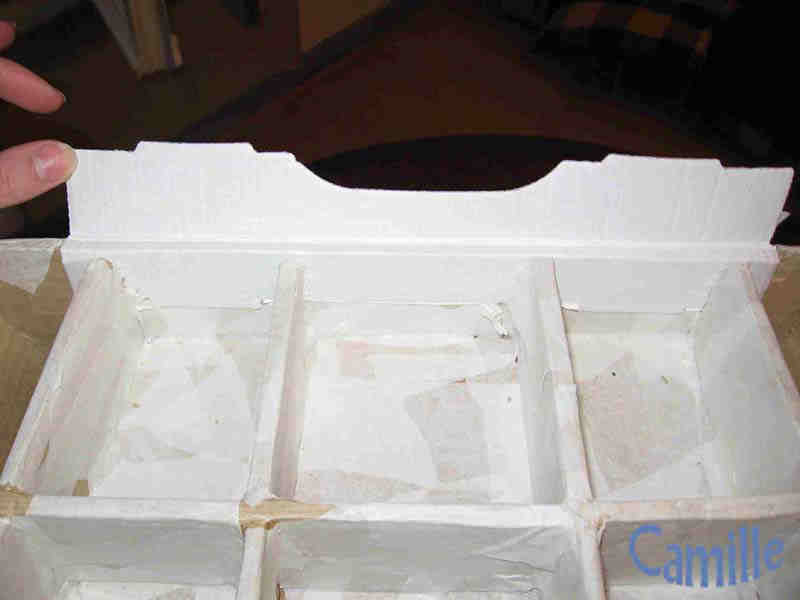
● On the right: you can see the finished chest of drawers with the open top.
● On the left: you can see the hinges (in cardboard please!) that will allow the top of the piece of furniture to open and show compartments. The latter are simply done by the internal structure of the chest of drawers.
This translation has been made entirely by Clarisse and her husband, Marthyn. Thanks a lot to you both.
